 This article discusses a basic preparation sequence for interior house painting. It is a “how-to” article for the ambitious non-painter or “do-it-yourselfer”. Many people who want to paint their own interiors think that it starts with masking tape. In a way, it does, but tape should be limited to horizontal surfaces, such as floors and counter-tops. Professional painting contractors do not use masking tape to “cut in” lines at ceiling and around trim. These are best done with a steady hand.
Tools needed to start include: a 3′ roll of red or white rosin paper, two rolls of 1” white tape, two rolls of 1.5” blue tape, a roll of 6” or 9” brown masking paper, a box of light-weight (“high-density”) plastic, a box-cutter, a “5-in-one” tool, a duster. It may be a good idea to invest in a 3M hand-masker. For painting, you will need a step-ladder, a 2.5” angle sash brush, a two-gallon bucket, 7” grid and 4” roller; a 5 gallon bucket, 9” grid and roller. A bucket hook, rags and roller-pole are also helpful items to have.
Create a Clean Space for your Interior House Painting Project
The first step in any interior house painting project is to create a space that is free of clutter. If it’s not possible to completely clear the room, pack all small items in boxes, remove heavy items from book-cases or dressers and remove artwork from walls. Put these in another room and remove any small furniture. Move larger furniture towards the center of the room, allowing for at least three feet of clearance around the perimeter. Clear out any “dust-bunnies” that have collected behind the furniture.
Masking and Tape
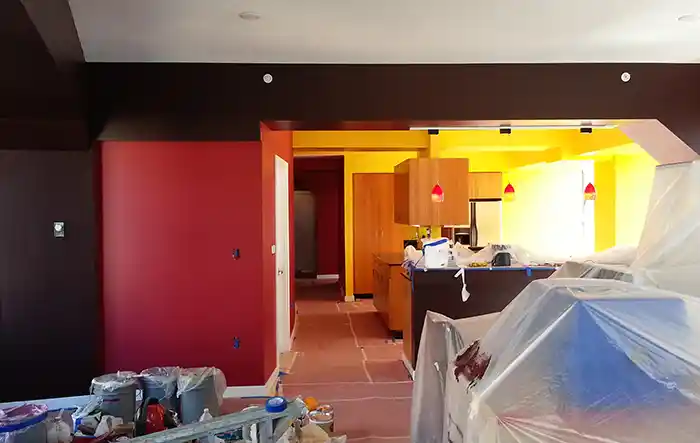
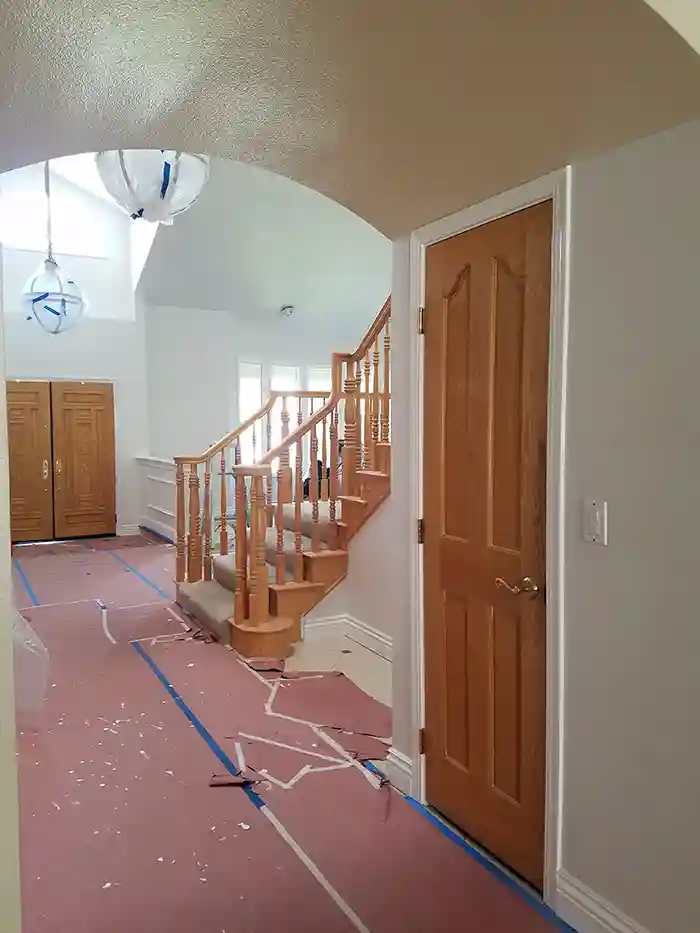 Use your 3’ roll of rosin paper to cover the floor around the edge of the room. Use the box-cutter to cut the rosin into the necessary lengths, then attach it to the flooring using your i.5 inch blue tape. This because blue tape is less likely to damage your floor finish. Use the one inch white tape(cheaper than the blue) to tape your paper to paper seams. Next, tent your furniture using the light-weight plastic, and tape the edges of the plastic down to the rosin paper. Use your 3M hand masker to cover the baseboard with tape and brown paper. The masker can also be handy to cover door handles, blinds, or other items that you want to protect from spatter. Now, you are ready to begin interior house painting.
Remove fixtures
Remove curtains, blinds, switch-plates and outlet covers. If painting ceilings with light-cans, pull these down or remove them as needed. Older light cans may have springs that must be detached (after unscrewing the bulb) newer cans are generally just a “pull down” affair, with pressure clips. If you are painting doors, you may want to remove the handles first. Another option is to loosen them and then tape around them.
Repair blemishes.
Fill small nailholes in the walls using a lightweight spackle. Larger holes should be filled with a fast-drying “hot-mud”. Cracks in corners can be filled with caulk.
Painting at Last!
Do not use tape to create clean lines around the edges of your trim and walls. Instead, use your brush and 4″ roller. Practice your eye-hand coordination! Most of the lines you will need to cut are either at the ceiling, or the vertical door and window trim edges. In both cases, gravity is working in your favor, since paint will not want to flow upwards or sideways. Start by brushing the paint about 1/2″ away from the ceiling or trim edge, and move the brush back and forth, in two or three foot strokes. Gradually work the paint closer to the edge. you will find that the ceiling or trim edge may actually act as a guide to help you cut your line. Next, use your 4″ roller to create a rolled border around the edges you have cut. Do this while your brushed line is still wet. Be sure to “feather out” the edges for a smooth appearance. Once the edges have been cut and rolled, you can use your 9″ roller to fill in the body.